How to Start a Home Renovation: A Beginner’s Step-by-Step Guide
Starting a home renovation feels overwhelming because nobody hands you the order of operations. Do you call a contractor first? Set a budget? Pull permits? Get it wrong and you burn money on rework; get it right and the whole project runs smoother than you’d expect. This guide walks you through exactly where to begin — and the sequence that keeps first-time renovators out of trouble.
The short version: define what you want, decide what you can spend, learn what your house allows, then bring in professionals. Every step below builds on the last. Skip ahead and you’ll pay for it later — usually literally.
1. Define Your Goals and Priorities

Before anything else, write down why you’re renovating. More space for a growing family? A kitchen that actually works? Fixing what’s broken? Raising resale value? Your “why” decides everything downstream — a forever-home renovation and a flip have completely different budgets and finish levels. List every room you’d like to touch, then rank them: must-haves, nice-to-haves, and someday-maybe. That ranked list becomes your decision filter when costs start climbing, as they always do.
2. Set a Realistic Budget — Plus a Contingency Fund

Renovations cost more than the internet suggests. Research what your specific projects actually cost in your area — a bathroom remodel in one city can cost double what it does in another — and get your numbers from recent local projects, not national averages from five years ago. Then add a 10 to 20 percent contingency fund on top, held sacred for the surprises hiding behind your walls (old wiring, water damage, and out-of-code plumbing are classics). A useful guardrail is the 30% rule: avoid spending more than about 30% of your home’s current market value on renovations unless it’s your forever home.
3. Research Styles and Gather Inspiration

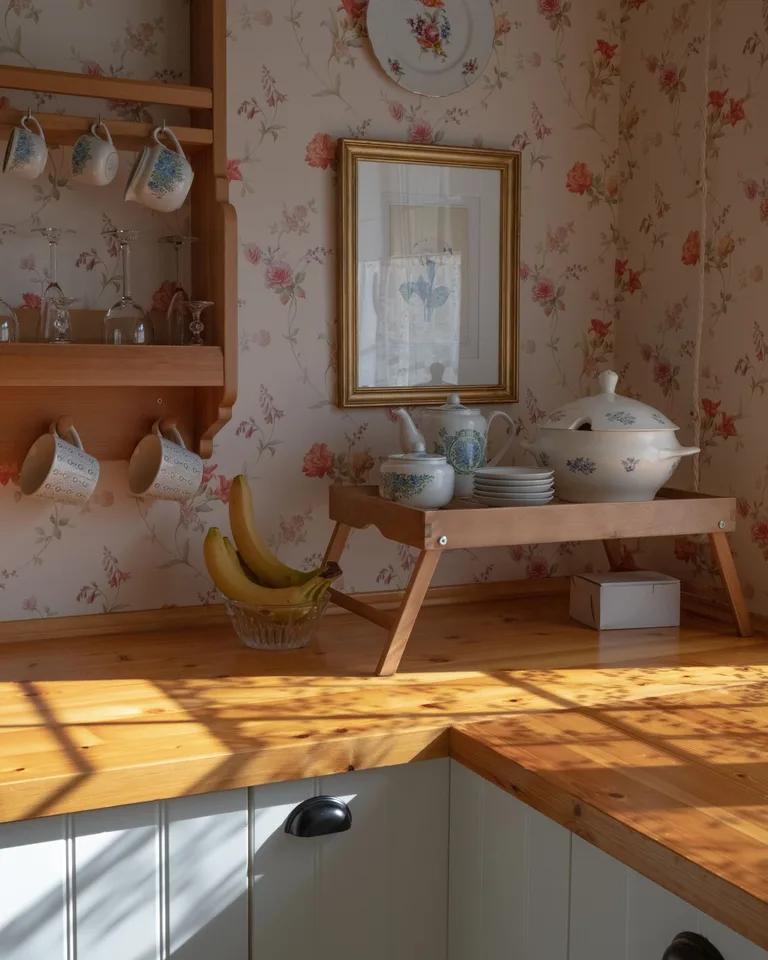
Collect photos of rooms you love — Pinterest boards, saved posts, magazine clippings — and look for patterns. You’ll notice you’re drawn to the same cabinet style, the same flooring tones, the same vibe repeatedly. That’s your style talking. Build a simple mood board per room: colors, materials, fixtures. This isn’t just fun; it’s the document that keeps you and your contractor speaking the same language later. If you’re torn between looks, browsing real rooms helps — these cottagecore kitchen ideas and vintage pink bathroom ideas show how a clear style direction shapes every later choice.
4. Measure Your Space and Learn Its Limits

Measure every room you plan to touch — wall lengths, ceiling heights, window and door positions — and sketch a rough floor plan. Then learn what can’t move: load-bearing walls, plumbing stacks, electrical panels, and HVAC runs all constrain your layout. A wall that looks removable might be holding up the second floor. This is also the time to check your home’s age for red flags like lead paint or asbestos, which require specialists and change both timeline and budget.
5. Decide What You’ll DIY and What Needs a Pro

Be brutally honest about your skills, tools, and available weekends. Painting, demolition of non-structural elements, installing fixtures, and landscaping are realistic DIY wins that save real money. Electrical, plumbing, structural work, and roofing are not — mistakes there are expensive and dangerous, and unpermitted work can torpedo a future sale. A smart middle path: DIY the cosmetic finish work and hire pros for everything behind the walls. Whatever you DIY, budget twice the time you think it needs.
6. Find and Vet the Right Contractor

Good contractors are found through referrals, not ads. Ask friends, neighbors, and local lumber yards who they’d hire again. Interview at least three candidates and check: valid license and insurance (call to verify, don’t just glance at a card), recent references you actually contact, and a portfolio of finished work similar to yours. Red flags include demanding large upfront payments, no written contract, vague timelines, and pressure to decide immediately. The cheapest bid is rarely the cheapest project.
7. Get Detailed Quotes and Compare Apples to Apples

Ask each contractor for an itemized quote breaking out labor, materials, and allowances — not a single lump sum. Itemized quotes reveal who’s cutting corners (suspiciously cheap materials) and who padded the numbers. Make sure every quote covers the same scope, or you’re comparing different projects. Get everything in a written contract: scope of work, payment schedule tied to milestones (never pay in full upfront), start and completion dates, and how change orders are priced. Verbal promises evaporate; contracts don’t.
8. Secure Permits and HOA Approvals Before Demo Day
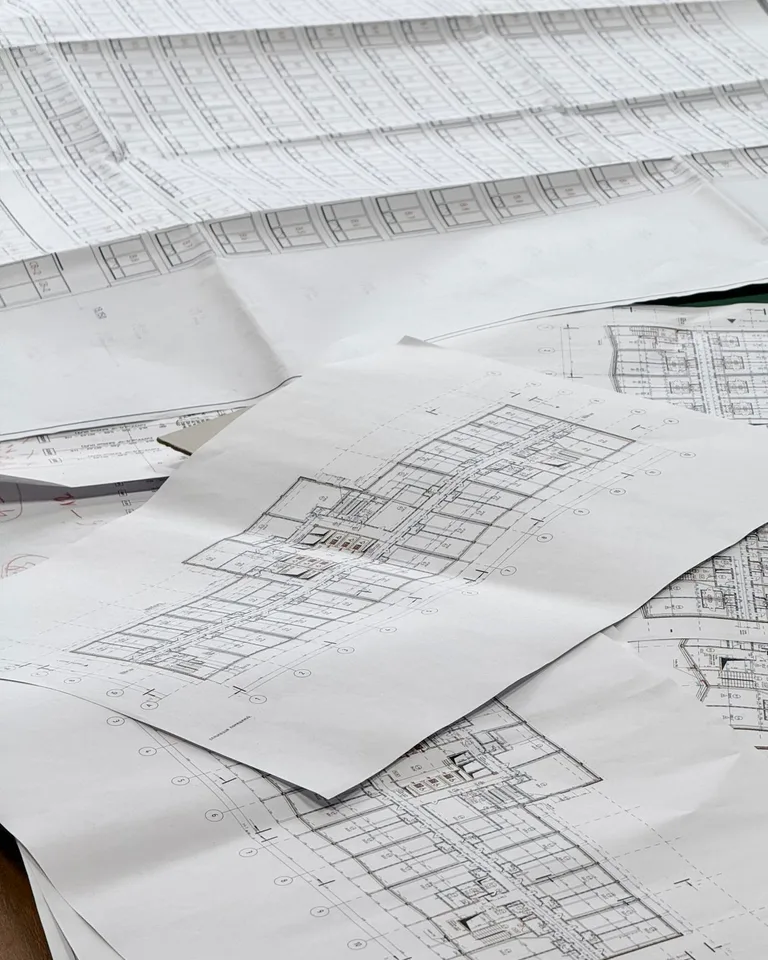
Most structural, electrical, plumbing, and HVAC work requires a permit from your city or county — cosmetic updates like painting and flooring usually don’t. Your contractor should handle permit applications, but confirm who’s responsible in writing. If you have an HOA, get architectural approval too; HOAs can and do halt projects mid-demo. Permits feel like bureaucracy, but they protect you: permitted work is inspected, insurable, and won’t come back to haunt you at resale.
9. Lock the Design and Order Materials Early

Finalize every selection — tile, fixtures, paint colors, hardware — before work starts, and order anything with a lead time immediately. Cabinets, windows, and specialty tile can take 6 to 12 weeks to arrive, and a project stalled waiting for materials still costs you in contractor scheduling chaos. Store deliveries somewhere dry and safe, and unbox to check for damage right away. Changing your mind mid-project triggers change orders, and change orders are where budgets go to die.

10. Prep Your Home for Construction Chaos

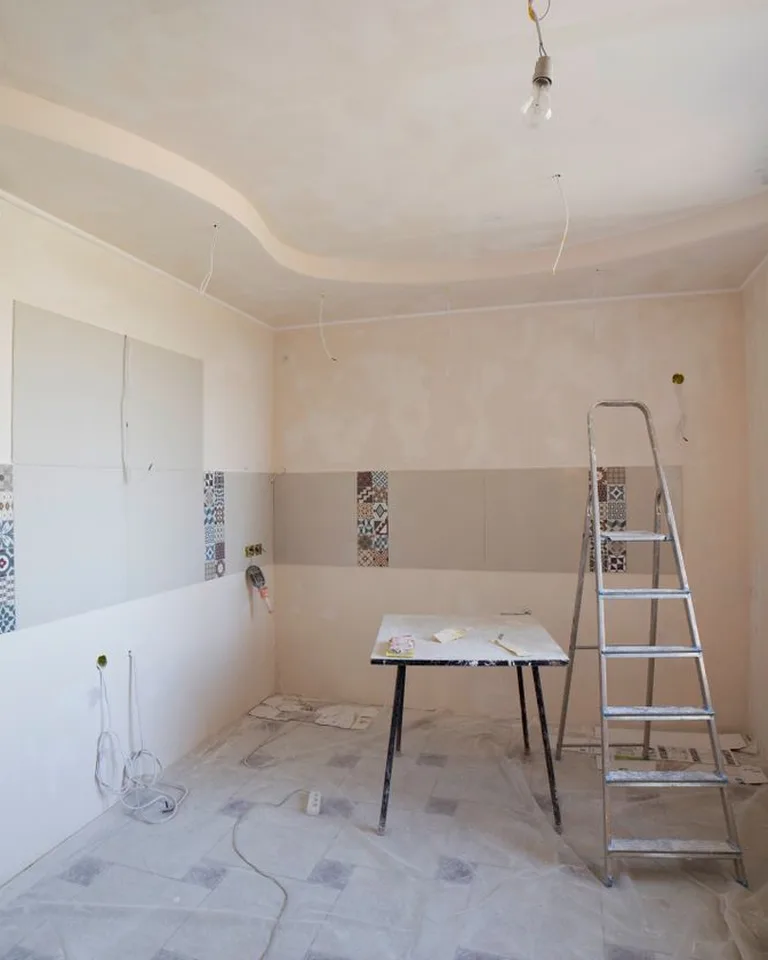
Clear the work zones completely — move furniture out, empty the cabinets being replaced, and seal off the rest of the house with plastic sheeting and zipper doors. Construction dust gets everywhere; it will find rooms you swore were sealed. Set up a temporary kitchen (microwave, mini fridge, coffee maker) if yours is going offline, establish where workers park and use the bathroom, and warn your neighbors about noise and dumpsters. If you’re living through the reno, a HEPA air purifier is worth every penny.
11. Manage the Project While Work Is Underway

Visit the site regularly and photograph everything — especially what’s inside the walls before drywall closes them up. Those photos are gold if you ever need to find a pipe or wire later. Hold a brief weekly check-in with your contractor: what’s done, what’s next, what’s blocking. Approve each phase before the next begins, and never let payments get ahead of completed work. When surprises surface (and they will), get the fix priced in writing as a change order before anyone swings a hammer.
12. Do a Thorough Final Walk-Through

When the contractor says “we’re done,” you’re not — not yet. Walk every inch with a critical eye and a roll of painter’s tape: mark paint drips, misaligned tiles, doors that stick, outlets that don’t work, and anything that differs from the contract. This is your punch list, and the contractor fixes every item before final payment. Test everything: run all faucets, flip every switch, open every window. Keep 5 to 10 percent of the payment held back until the punch list is complete — it’s your only leverage, so don’t surrender it early.

Frequently Asked Questions
What is the 30% rule for renovations?
It’s a guideline suggesting you avoid spending more than about 30% of your home’s current market value on remodeling, to avoid over-improving relative to the neighborhood. It matters most if you might sell within a few years; for a forever home, spend what the lifestyle is worth to you.
In what order should a remodel happen?
Roughly: planning and permits first, then demolition, structural work, rough plumbing/electrical/HVAC, insulation and drywall, flooring, cabinets and trim, paint, and finally fixtures and appliances. The rule of thumb is inside-out and top-down — and always finish floors and paint last so construction doesn’t damage them.
Do I need a permit for my home renovation?
It depends on scope and location, but structural changes, electrical work, plumbing, and HVAC almost always require permits. Cosmetic work like painting, flooring, and replacing fixtures usually doesn’t. Check with your local building department before starting — unpermitted work can stall a future sale and void insurance claims.
How much contingency should I budget for a renovation?
Plan for 10 to 20 percent of the project cost set aside for surprises, with 20 percent being the safer choice for older homes. Keep it separate from your main budget and genuinely untouched until something unexpected surfaces — which, in renovations, it reliably does.
Should I live in my home during the renovation?
You can for single-room projects, but whole-house or kitchen/bathroom gut renovations are miserable to live through — dust, noise, no plumbing, and workers arriving at 7 a.m. If you stay, seal off living areas with plastic sheeting, set up temporary cooking and bathing, and expect the timeline to feel twice as long. Moving out temporarily often pays for itself in sanity.
How long does a typical home renovation take?
A single bathroom takes 3 to 6 weeks, a kitchen 6 to 12 weeks, and a whole-house renovation 4 to 8 months or more — and that’s after planning and permits, which can add 1 to 3 months upfront. Material lead times are the most common delay, which is why ordering early (step 9) matters so much.
Start With Step One This Week
You don’t need a contractor, a permit, or a single quote to begin — you need a list. Write down your goals, rank your rooms, and set a rough budget range this week. That one afternoon of clarity turns “we should renovate someday” into a project with a direction. And when you’re ready to think about the fun part, explore how finished rooms come together, from budget built-in bookshelves to wall decor ideas that make a renovated space feel like home.