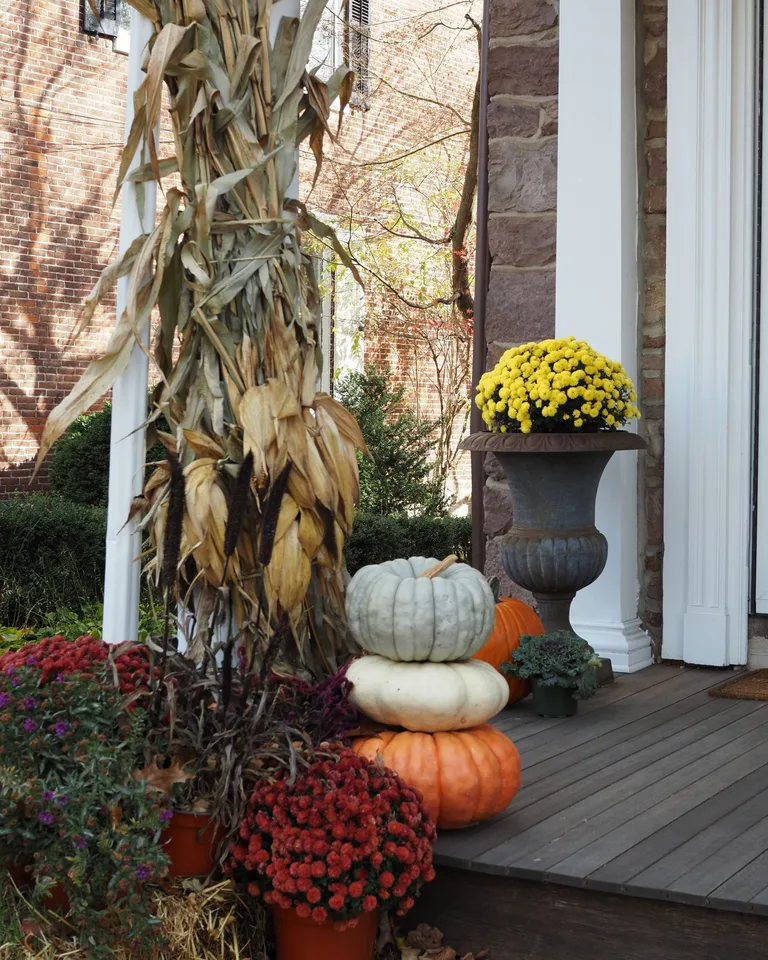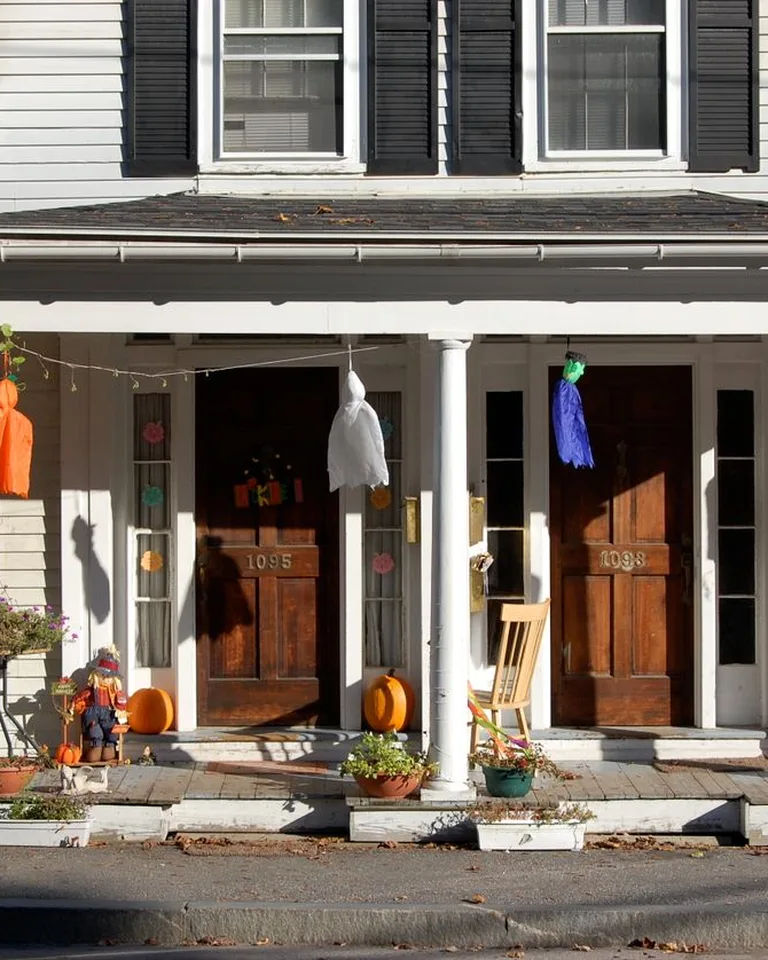
16 DIY Halloween Trail Ideas for a Spooktacular Backyard Haunt
A Halloween trail turns your backyard, side yard, or even a long driveway into a walk-through haunted adventure — and you don’t need a big budget or professional props to pull it off. The trick is thinking in scenes: a string of small, themed stations along a path, each with its own lighting and one good scare or photo moment. Here’s how to build one, station by station.
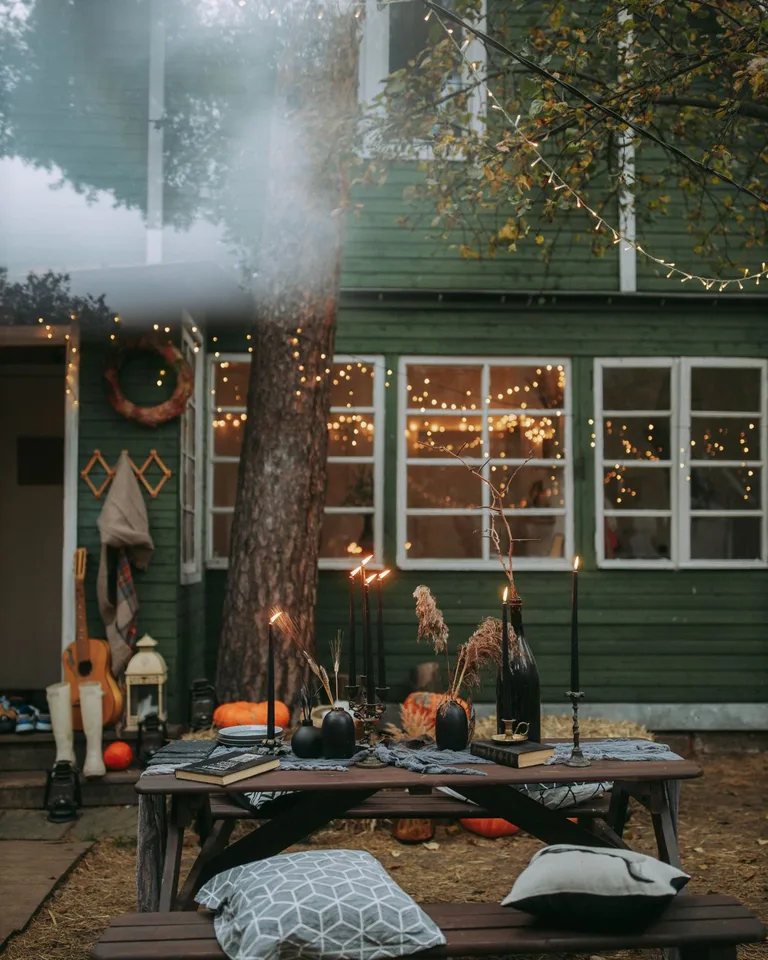
Plan your route first. If a full haunted trail feels like too much, these cute DIY outdoor Halloween decorations deliver the festive yard without the scare zones. Walk the path in daylight and mark 6 to 10 “stations” — spots with a tree, fence, bush, or corner you can decorate. Keep the path itself clear and wide enough for kids in costumes, and run all your lighting before you place a single prop. Then build each scene below in order.
1. Build a Spooky Trail Entrance Arch
Every great trail needs a threshold moment. Bend PVC pipe into an arch over your path entrance, wrap it in black fabric or creepy cloth, and hang plastic bats, ghosts, or lanterns from it. A hand-painted wooden sign — “ENTER IF YOU DARE” — sets the tone for a dollar’s worth of plywood. If you like the hand-cut look, these ways to fill a blank wall without buying art use the same silhouette techniques indoors. Flank the arch with two carved pumpkins or lantern posts so visitors know exactly where the adventure begins.
2. Line the Path With Pumpkin Lanterns
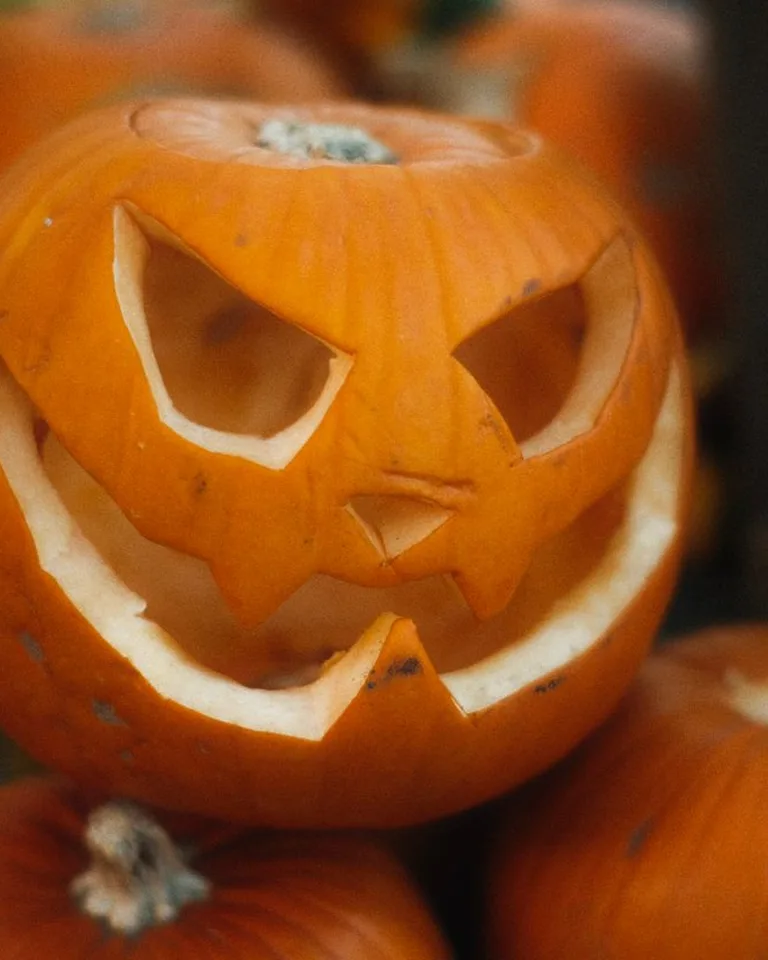
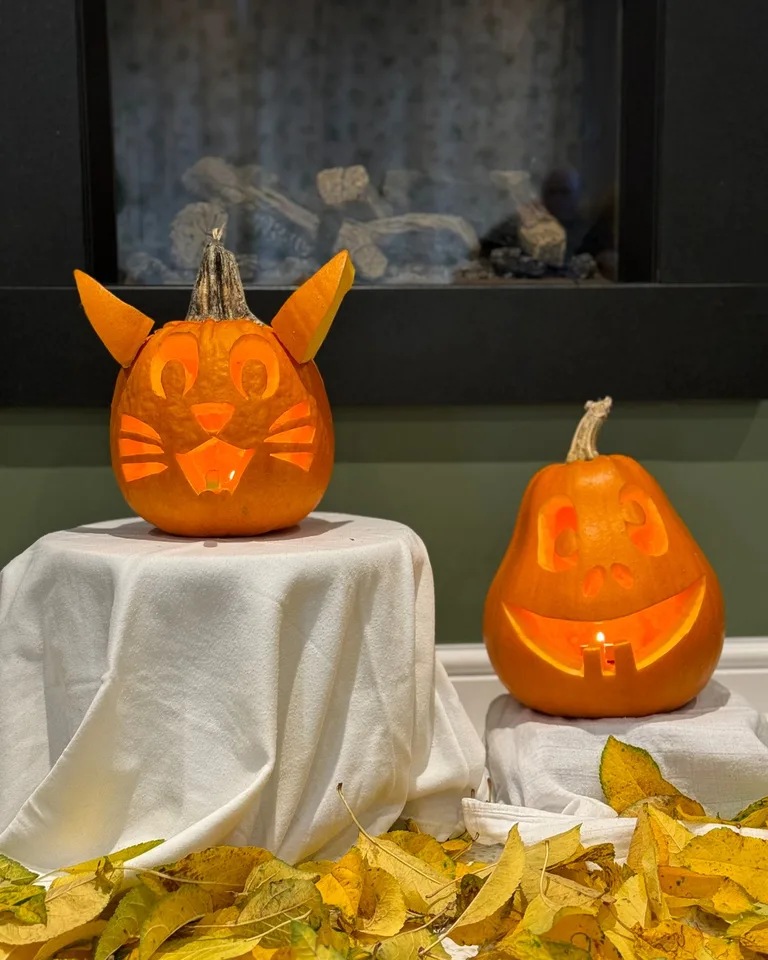
Nothing guides visitors through a dark yard like a glowing pumpkin path. Carve simple faces (silhouettes read better than detail at night), or skip carving entirely and paint pumpkins matte black, white, or metallic for a modern look. Drop a battery-operated tea light in each — real candles blow out and become a fire risk on a windy trail. Space them 3 to 4 feet apart so the light pools overlap and nobody trips in the dark.
3. Raise a DIY Tombstone Graveyard
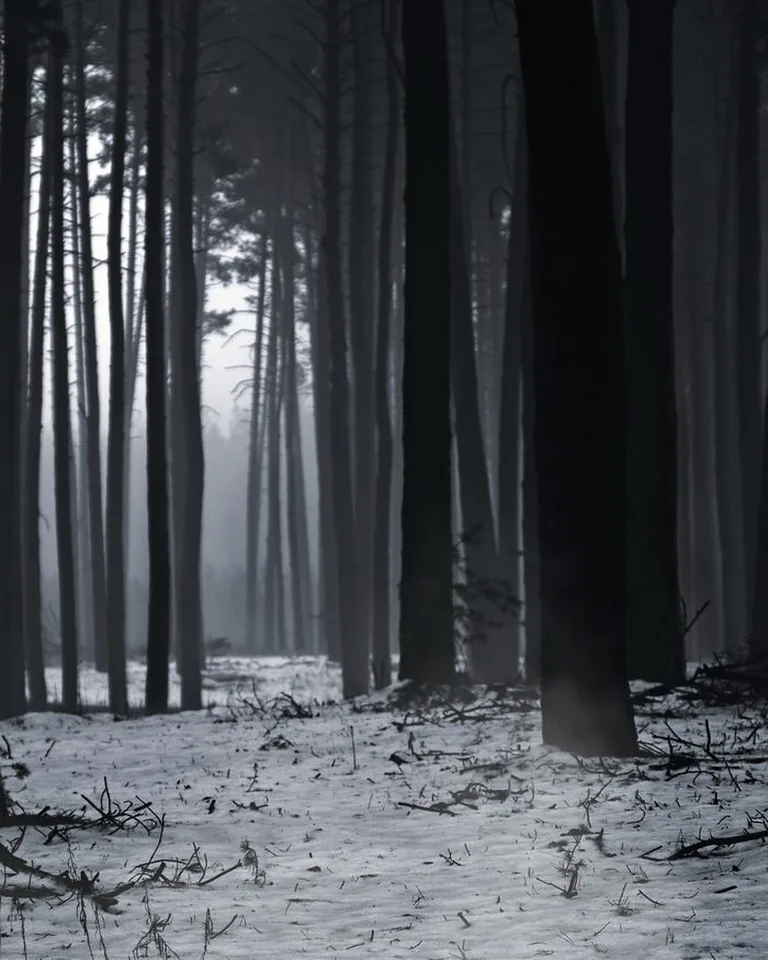
A graveyard is the classic trail station and one of the cheapest to build. Cut tombstone shapes from foam insulation board or sturdy cardboard, paint them gray, sponge on darker shading for an aged-stone look, and write funny epitaphs (“Here lies Fred — he never made his bed”). Stake them into the lawn at angles, scatter a few plastic skeleton arms reaching from the “ground,” and drape everything in stretch cobwebs. A green or purple floodlight makes the whole scene glow eerily.
4. Hang Floating Cheesecloth Ghosts
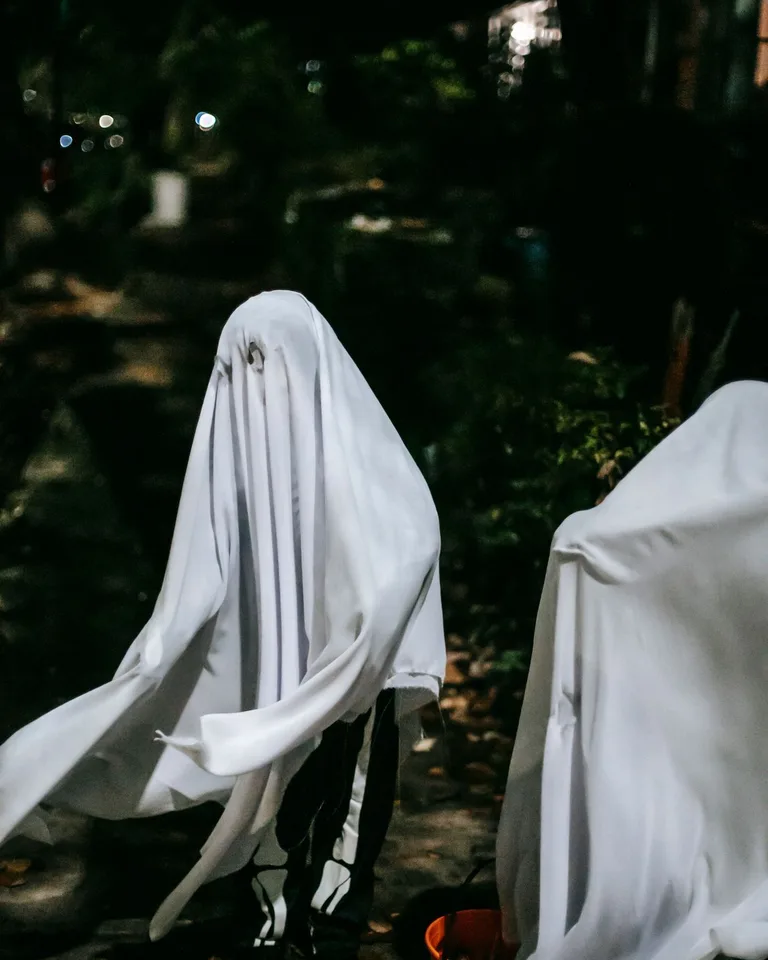
Cheesecloth ghosts are the highest-impact, lowest-cost decoration in Halloween. Drape white cheesecloth or gauze over a balloon or foam ball, add black felt eyes, and hang them from tree branches at varying heights with fishing line. Tuck a battery tea light inside a few of them and they glow like real spirits after dark. Because they’re nearly weightless, even a light breeze makes them sway — which is exactly the effect you want.
5. Light Up Witch Hat Luminaries

Glue dollar-store witch hats into cones, poke a string of warm-white fairy lights through them, and hang them from branches or your porch ceiling. They read as floating witch hats from a distance and cast a magical glow up close. Add a couple of broomsticks leaning nearby and a “witch parking” sign, and you’ve got an instant themed station that kids love.
6. Weave a Giant Spider Web Tunnel
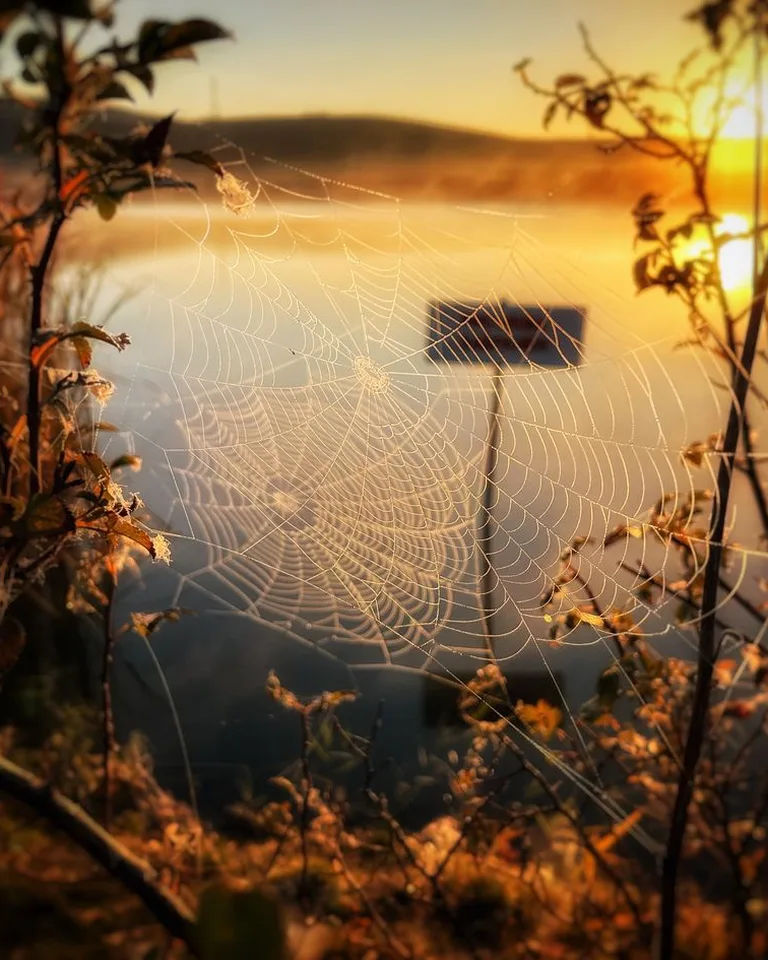
Stretch a large web across a narrow section of your path so visitors have to duck under it — that little moment of “do I have to go through this?” is pure Halloween gold. Weave it from white rope or clothesline between two trees or posts, then perch an oversized spider (stuffed trash bags with pipe-cleaner legs work great) in the center. Drape smaller stretch webs over nearby bushes so the whole zone feels infested.
7. Set Out Glowing Lantern Stations

Dark spots kill a trail’s momentum — visitors bunch up, kids get nervous, and the magic breaks. Place lantern clusters (mason jars with fairy lights, paper bag luminaries with sand, or solar path lights wrapped in orange fabric) at every transition between scenes. The light doesn’t just guide feet; it tells visitors “something cool is next.” Orange, purple, and green bulbs in standard fixtures are the cheapest atmosphere upgrade you can buy.
8. Bubble a Witch’s Cauldron With Fog

Nothing says Halloween like fog rolling across the ground. A small plug-in fog machine aimed low (or dry ice in a cauldron for short bursts) transforms an ordinary yard into something otherworldly. Set a black cauldron — a plastic one from the party store works — over the fog source, add a green light inside, and surround it with potion bottles (food-colored water in old jars). Keep fog machines away from the walking path so nobody slips in the mist.
9. Stage Skeleton Vignettes With a Sense of Humor

Poseable skeletons are trail gold because you can change the joke every year: skeletons having a tea party, one mowing the lawn, a pair slow-dancing under a spotlight. Humor keeps the trail fun for younger kids while still looking great in photos. Pose them a day early and check sightlines from the path — the funniest setups are the ones visitors discover at the last second.
10. Swarm the Trees With Hanging Bats
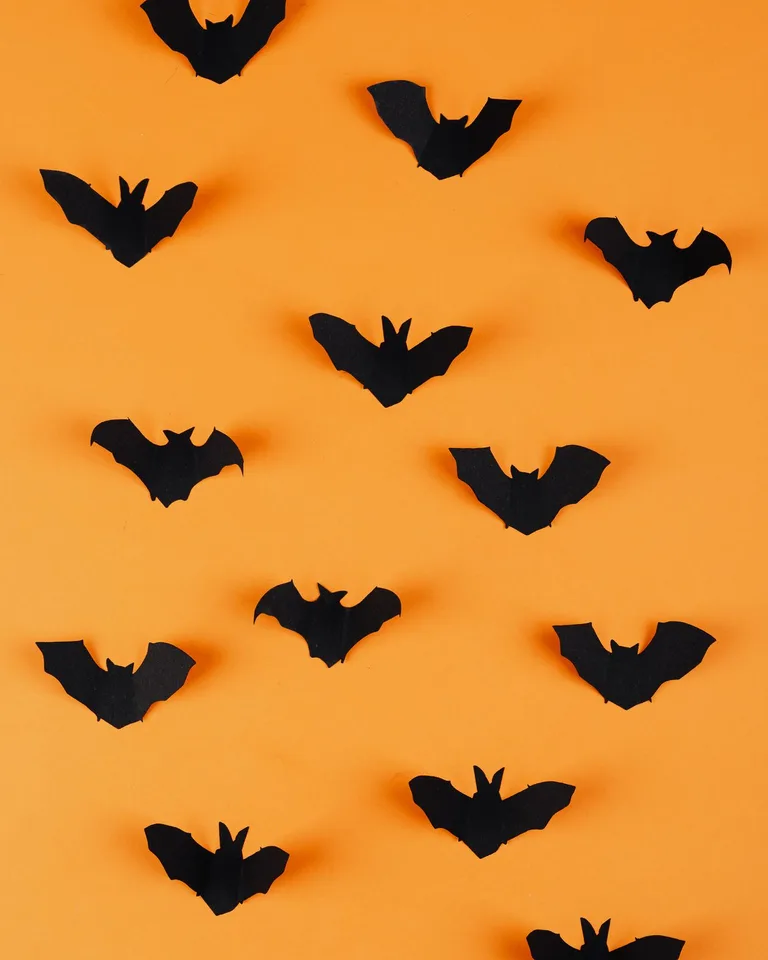
Cut bat silhouettes from black cardstock or craft foam — fold the wings slightly for dimension — and hang dozens from a single tree with fishing line at different lengths. From the path, it looks like the tree is swarming. For extra credit, cut a few oversized bats and stake them to the lawn like they’re landing. This is a perfect kid-friendly craft: one afternoon of cutting produces a whole tree’s worth of bats.
11. Post Scarecrow Guides Along the Route

Scarecrows make natural trail markers — station one at every turn so visitors always know which way to go. Build them from old clothes stuffed with straw or newspaper, with painted pumpkin or burlap heads. Give each one a personality: one holds a lantern, one points down the path, one “guards” the candy station. Friendly-faced scarecrows keep the trail welcoming for little kids; swap in creepy masks after dark for older crowds.
12. Add Motion-Activated Scares (Sparingly)

One or two jump scares beat ten. A single motion-activated prop — a lunging spider, a cackling witch, a popping ghost — placed where the path narrows will get screams every time. The key is restraint: if everything jumps, nothing surprises. Put your scare props in the middle of the trail (never at the entrance where timid kids can bail) and always keep an alternate “chicken path” around them for little ones.
13. End With a Treat Station Worth Reaching
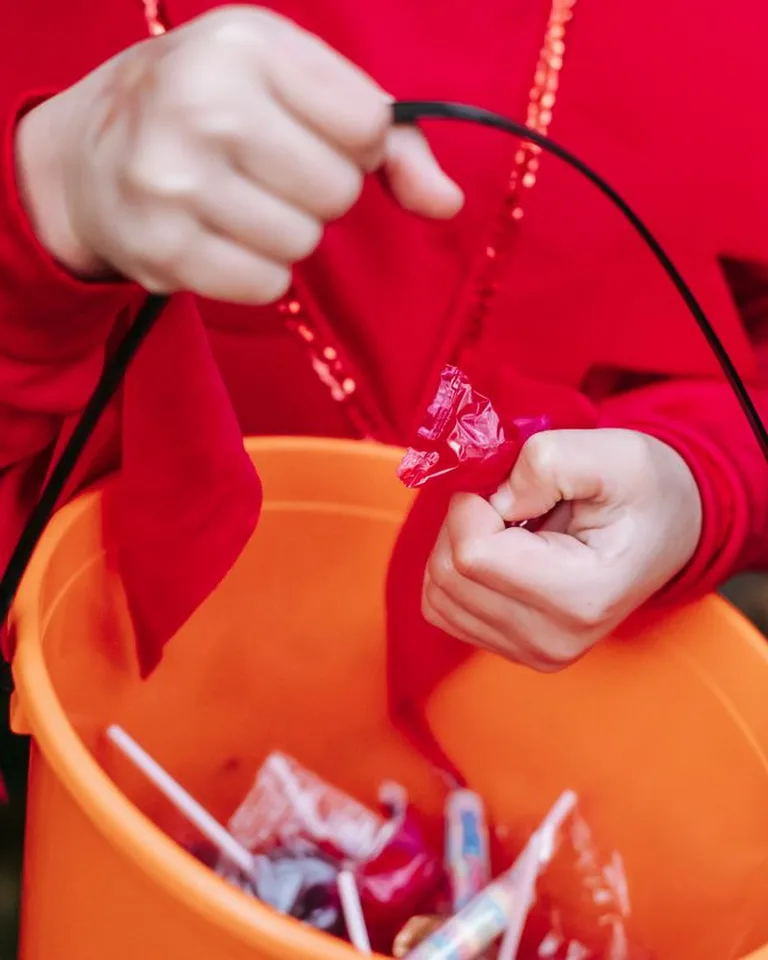
Every trail needs a payoff. Set up your candy station as a decorated finale — a “witch’s kitchen” table, a skeleton handing out treats, or a treasure chest of candy. Decorate it as richly as any other scene so the ending feels earned, not like an afterthought. Pro tip: hand out the good candy here and put a “take one” bowl at the entrance for early arrivals — your trail’s reputation will thank you.
14. Wash Stations in Colored Light

Colored light is what separates a “decorated yard” from a “haunted trail.” Swap porch bulbs for orange or purple, aim a green floodlight up into a tree, and run purple string lights along fences. Light each scene in a different color so visitors feel like they’re traveling through zones. Uplighting — placing lights at ground level aimed up — creates the long eerie shadows that make everything look haunted.
15. Cage a Few Creepy Captives
Nothing stops trail traffic like a cage with something inside it. Build simple cages from black-painted tomato cages, laundry baskets, or PVC frames, and put skeletons, creepy dolls, or strobe-lit ghosts inside. Hang one from a sturdy branch so it sways. Add a “DO NOT FEED” sign and watch visitors slow down for photos — cages are the most photographed prop on most home trails.
16. Finish With a Photo-Op Finale

Give visitors a reason to remember your trail: a photo backdrop at the exit. A hay bale seating area with a “Happy Halloween” banner, a giant picture frame to pose in, or a wings mural painted on plywood — any of them turn guests into promoters when the photos hit social media. Light it well (this is the one spot where bright, flattering light beats spooky light) and add a hashtag sign with your street name.
Frequently Asked Questions
What are some budget-friendly outdoor Halloween decoration ideas for a trail?
Cheesecloth ghosts, cardboard tombstones, paper bats, and painted pumpkins all cost a few dollars each and look fantastic at night when lighting does the heavy lifting. Dollar stores are your best friend — buy lights, fabric, and plastic props there, and spend your real money on one fog machine and good extension cords.
How do I keep my Halloween trail safe for kids and visitors?
Keep the walking path wide, clear, and well-lit — light every step and every turn. Secure all props so nothing can fall or blow over, keep fog machines and cords off the path, use battery lights instead of real candles, and always offer a bypass around jump-scare props for young children.
What lighting works best for a scary Halloween effect outdoors?
Colored floodlights (red, green, purple) aimed upward create eerie shadows; orange and purple string lights define the path; strobes and blacklights add disorientation in small doses. Layer at least two types per scene — one for visibility, one for mood.
How do I weatherproof my outdoor Halloween decorations?
Choose plastic, metal, and synthetic fabrics over paper and cardboard where possible, seal painted items with clear spray, weigh down or stake everything against wind, use outdoor-rated extension cords and waterproof LED lights, and bring electronics and fog machines under cover when rain is forecast.
How do I lay out a Halloween pathway for trick-or-treaters?
Line the walkway with lanterns or glowing pumpkins spaced 3 to 4 feet apart, use rope lights or stakes with ribbon to define the edges, and place your biggest scenes where the path naturally pauses — corners and wide spots. Walk it yourself at night before opening; you’ll spot dark gaps and trip hazards instantly.
What spooky decorations can I make with kids?
Paper bats, handprint ghosts, painted rock monsters, mason-jar mummies (gauze + googly eyes + tea light), and cotton-ball spider webs are all kid-safe and genuinely look good on the trail. Let kids own one full station — they’ll proudly show it to every visitor.
Take a Final Walk-Through
On Halloween afternoon, walk your entire trail at dusk with fresh eyes: check every light, test every prop, and time the route. Fix anything that looks thin in the dark — night hides a multitude of sins but also swallows under-lit scenes whole. When November comes, pack props by station in labeled bins so next year’s setup takes hours, not days — the same zoning system in these cheap garage organization ideas works perfectly for decoration storage. Then turn on the fog, light the pumpkins, and enjoy the screams.