
18 Cheap Garage Organization Ideas That Actually Work
You don’t need an expensive storage system to fix a messy garage. The cheapest approach comes down to three habits: sort everything before you buy a single organizer, move storage onto the walls and ceiling, and reuse what you already own. The 18 ideas below follow exactly that order — most cost under $30, many cost nothing at all, and all of them keep the floor clear so you can actually park in your garage again.
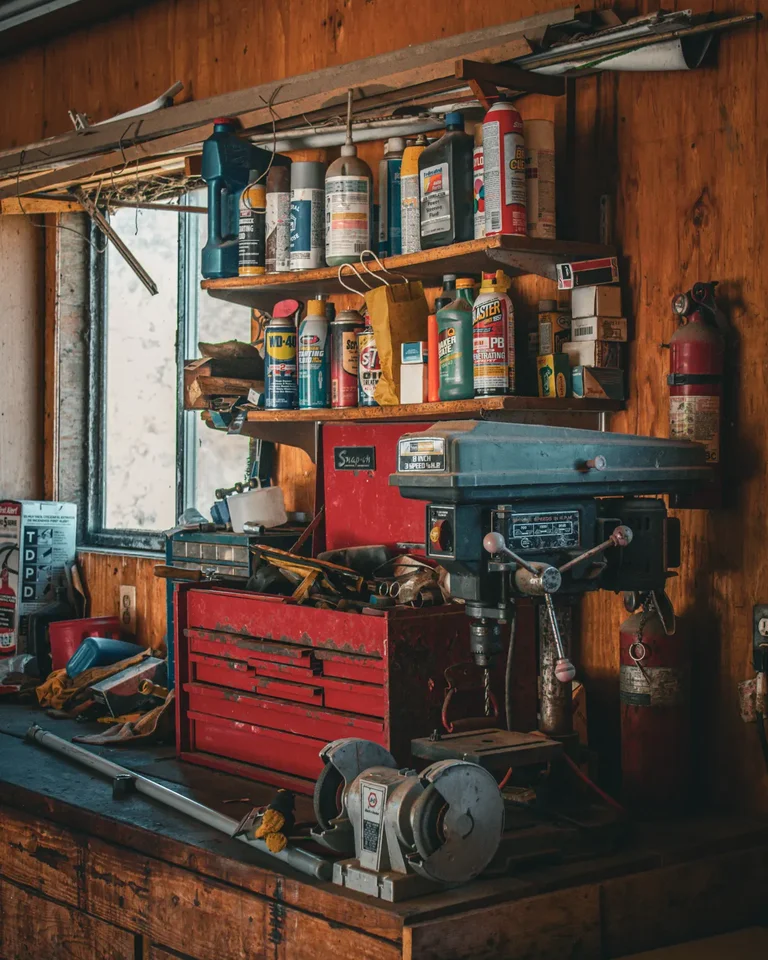
1. Sort Everything Into Piles Before You Spend a Dollar

The most expensive mistake is buying bins before knowing what you own. Drag everything out (or at least to one side), then sort it into four groups: keep, donate or sell, relocate to another room, and trash. Be honest about duplicate tools and broken items — getting rid of things you don’t use is free square footage.
Once the keep pile is all that’s left, group it by how you actually use it: car care, tools, garden, sports, seasonal. These groups become your storage zones later, so write them on a scrap of cardboard and tape it to the wall. Tip: do the sorting on a dry weekend morning so nothing sits on the driveway overnight.
2. Build a Pegboard Tool Wall
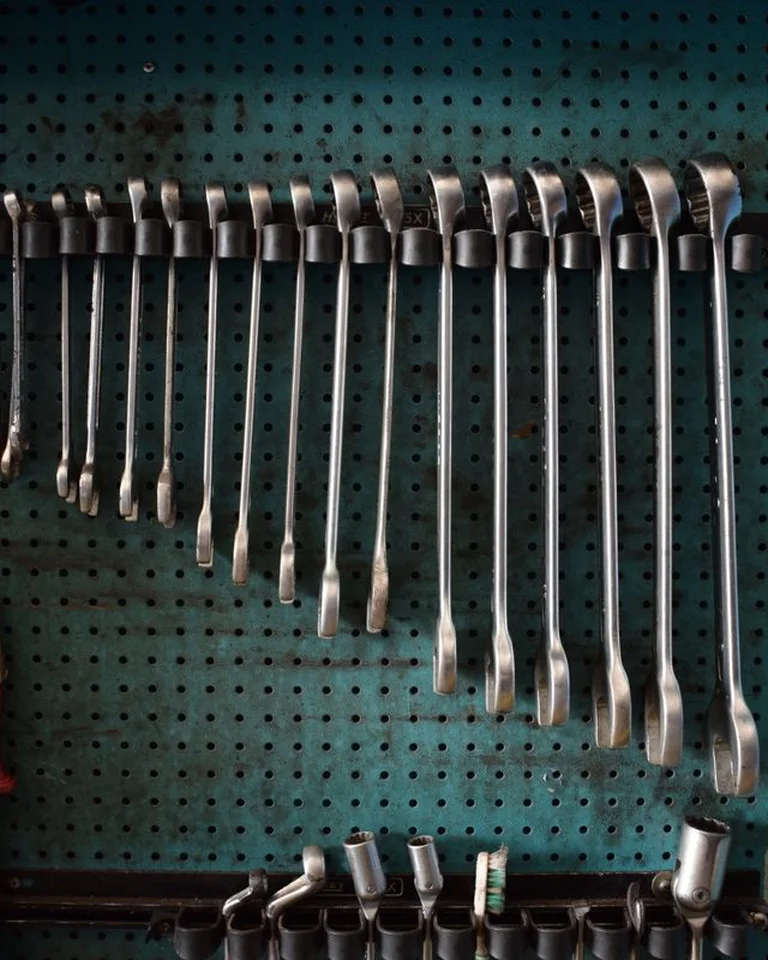
A 4×4-foot sheet of pegboard with a bag of hooks is one of the cheapest ways to buy back wall space. Mount it above a workbench or on any open stud wall, and every hammer, screwdriver, and tape measure gets a visible home. Because everything hangs in the open, you’ll notice at a glance when something is missing.
Leave a few inches between tool groups so nothing overlaps, and put daily-use tools at eye level with the bulky items along the bottom row. Tip: trace each tool’s outline on the board with a marker — a “shadow board” makes it obvious exactly where things go back.
3. Frame Out Shelves From 2x4s and Plywood
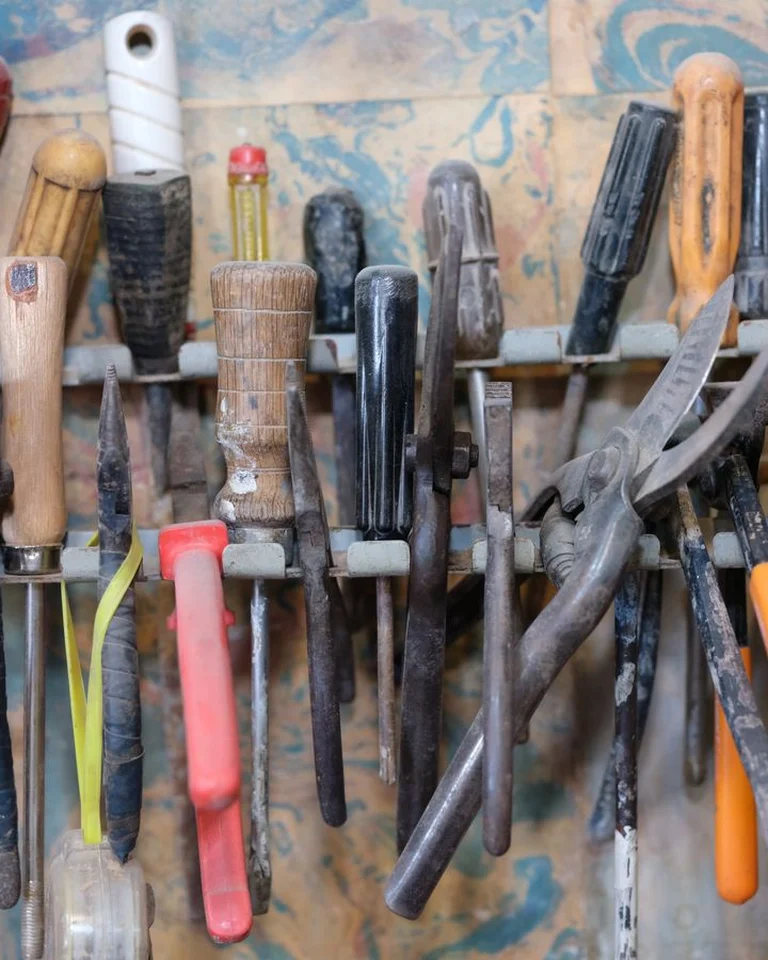
Store-bought garage shelving is sturdy but pricey. A weekend build from standard 2×4 lumber and plywood or OSB boards gives you the same heavy-duty storage sized exactly to your wall — and it’s one of the simplest carpentry projects a beginner can finish. Build floor-to-ceiling along one wall and you’ll hold paint cans, toolboxes, and bins that would cost hundreds to store any other way.
Keep the shelf depth around 16 to 24 inches so bins fit without disappearing into the back. Tip: anchor tall shelves to the wall studs with L-brackets so a full unit can’t tip.
4. Screw Jar Lids Under a Shelf for Hardware

Screws, nails, and bolts vanish into junk drawers — unless you can see them. Screw the lids of small jars or recycled food containers to the underside of a shelf, fill each jar with one type of fastener, and twist it into its lid. You get a row of clear hardware storage that uses dead space and never falls over.
Sort by type and size, one jar per fastener, and label the lid so refills go to the right spot. Tip: keep the jars you reach for most often toward the front of the shelf.
5. Line the Wall With Magnetic Tool Strips
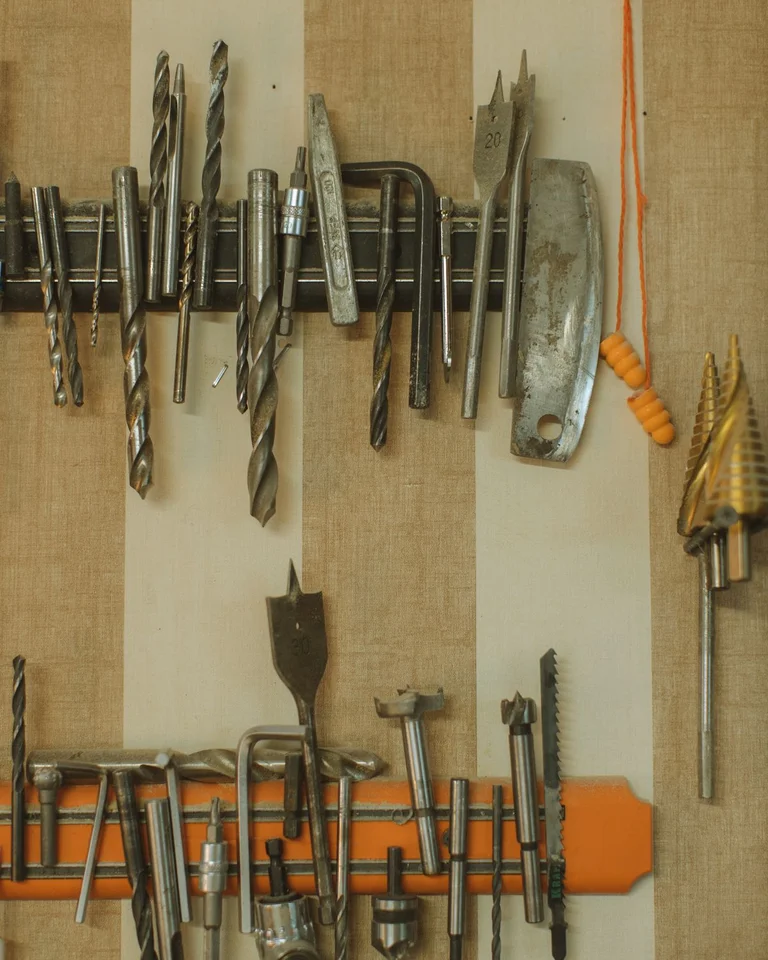
A magnetic strip turns a narrow strip of wall into instant storage for screwdrivers, wrenches, pliers, and scissors. It costs a few dollars, installs with two screws, and keeps metal tools visible and grabbable beside your workbench — no hooks or pegboard holes needed.
Mount the strip at a height where you can lift tools straight off without reaching across your workspace. Tip: keep heavy items like full socket sets on a properly anchored holder instead; magnets are best for hand tools you grab constantly.

6. Color-Code and Label Every Bin
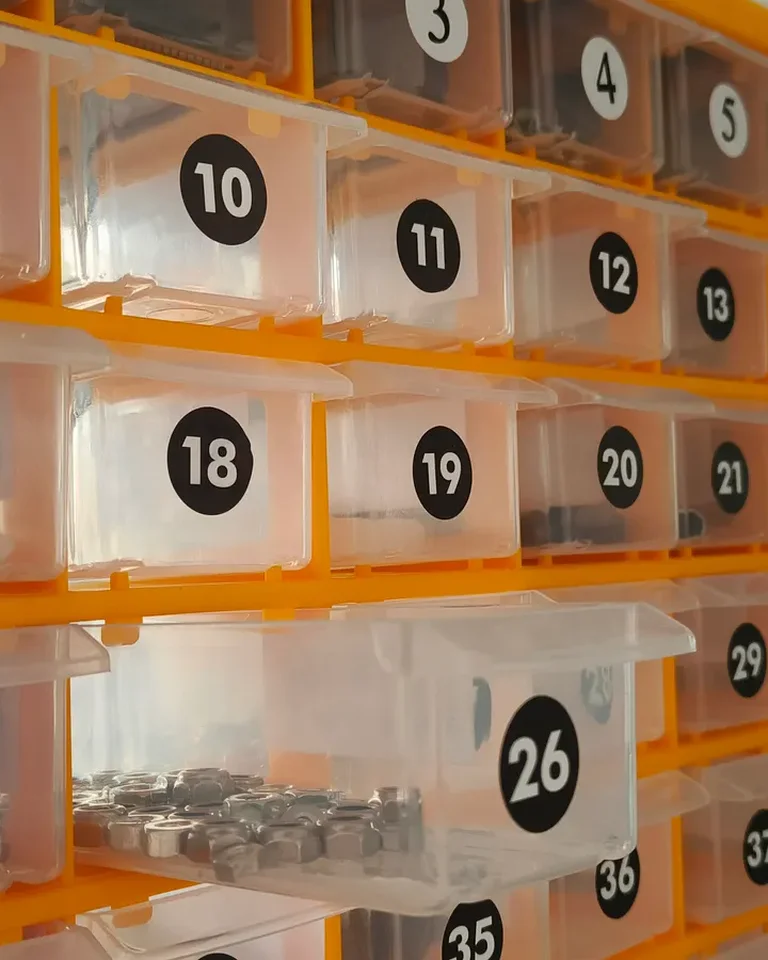
Bins only work if you can find things in them. Assign one color per category — blue for car supplies, green for garden, red for sports — and write the contents on the front with a paint pen or a strip of masking tape. Anyone in the family can put things away and find them again without opening five lids.
Keep the labels big and on the side that faces out, not the lid. Tip: list two or three key items on each label (“camping: tent, sleeping bags”) so the bin’s purpose is clear at a glance.
7. Stack Sturdy Crates Instead of Buying Shelving
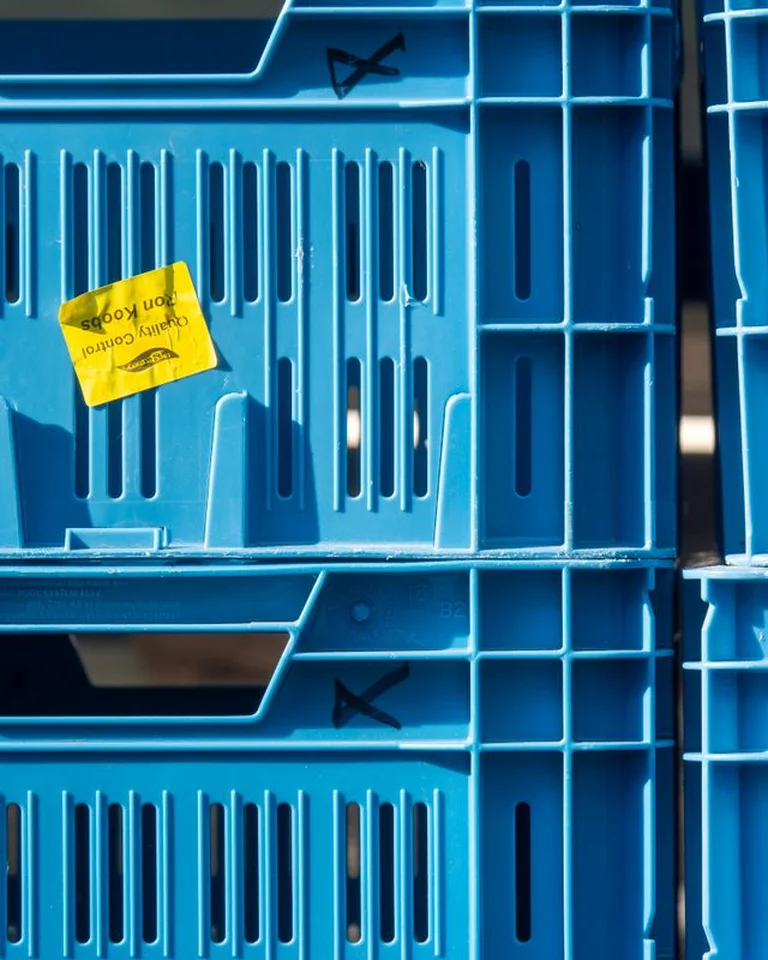
If a lumber project sounds like too much right now, stackable crates give you modular shelving in minutes. Heavy-duty plastic or wooden crates stack stably, pull out like drawers, and rearrange whenever your needs change. They’re ideal for balls, helmets, garden gloves, and anything you want to see and grab quickly.
Put the heaviest gear in the bottom crates and lighter items up top, and turn openings toward the driveway for grab-and-go access. Tip: crates of the same brand and size stack more safely — mixing shapes is what makes towers wobbly.
8. Hang Bikes Off the Floor
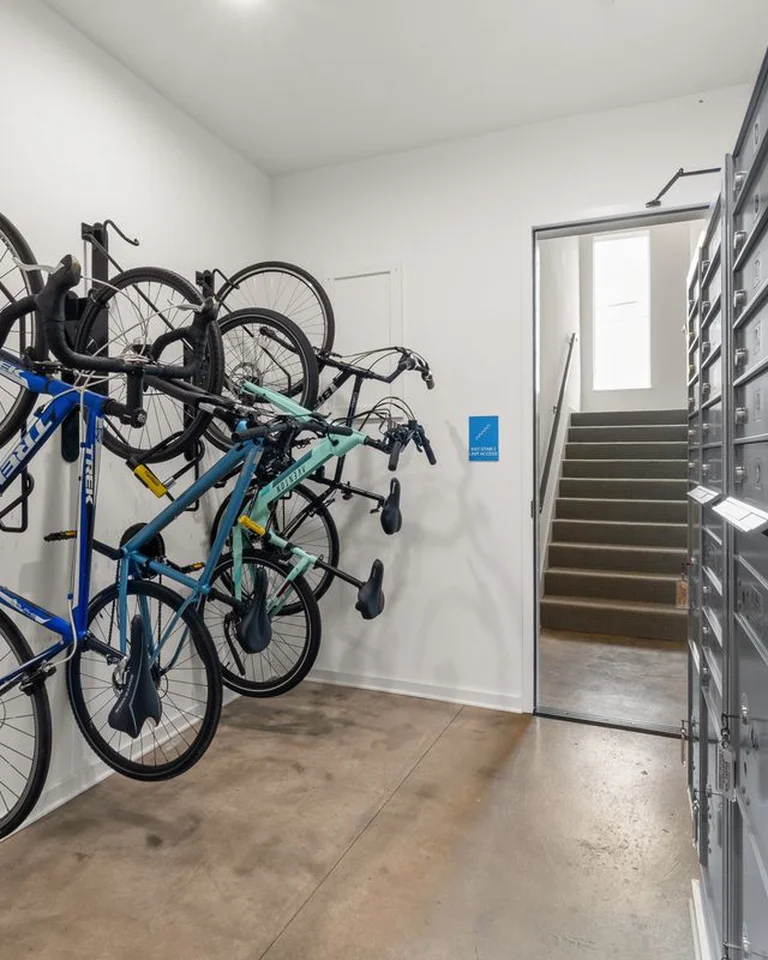
Bikes are floor-space hogs. A simple wall hook through the front wheel lifts a bike off the ground and frees the space underneath for bins or shoes. In a tight one-car garage, hanging bikes vertically along one wall can reclaim several feet of parking room.
Measure handlebar width before placing hooks so parked bikes don’t block the walkway or the car door. Tip: mount hooks into studs — drywall anchors alone won’t hold a bike safely.
9. Give the Ladder Its Own Spot on the Wall

A ladder leaning in a corner is a fall waiting to happen. Hang it horizontally on two sturdy wall brackets or hooks, above shoulder height and away from the walking path. It takes up almost no usable space, stays easy to grab, and can’t slide across the floor anymore.
Keep it clear of the garage door track and any moving hardware, and make sure the brackets grip it firmly enough that it can’t roll forward. Tip: store it near the side door you actually carry it out of.
10. Put Garden Tools on Their Own Wall Rail
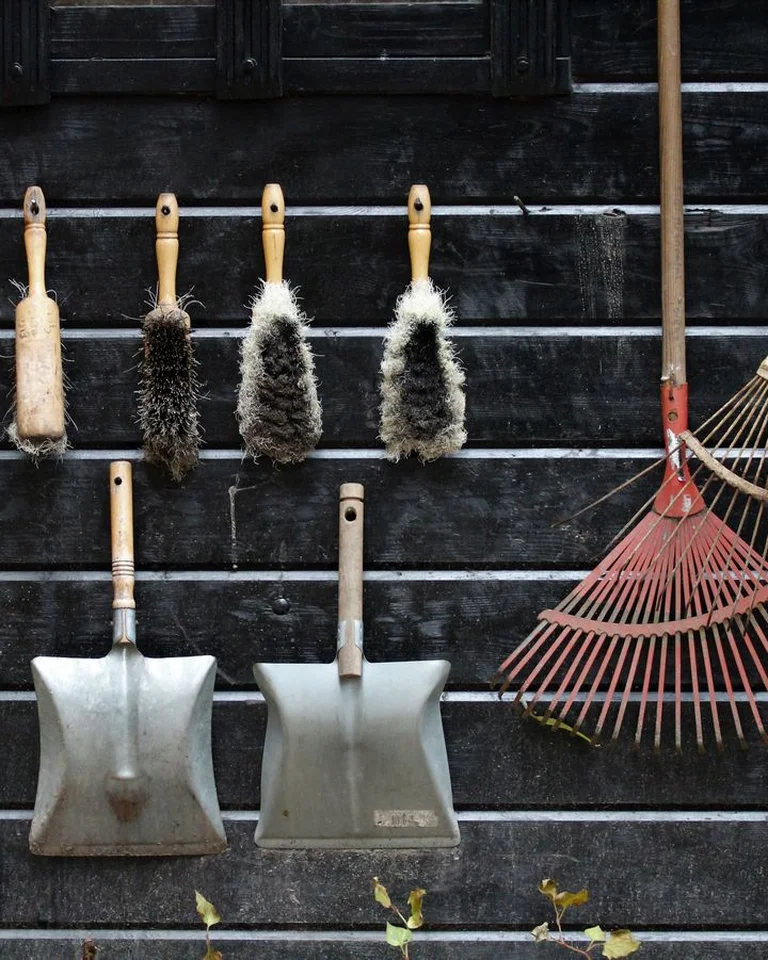
Rakes, shovels, and brooms don’t belong in a tangled corner pile. A simple wall-mounted rail — or even a row of sturdy hooks — keeps every long-handled tool upright, separated, and visible. You’ll stop buying duplicate tools simply because you couldn’t find the first one.
Point sharp heads toward the wall and leave enough space between hangers that you can pull one tool without dragging out three. Tip: keep this rail near the garage door closest to the yard so dirty tools never cross the clean side.

11. Install a Fold-Down Workbench
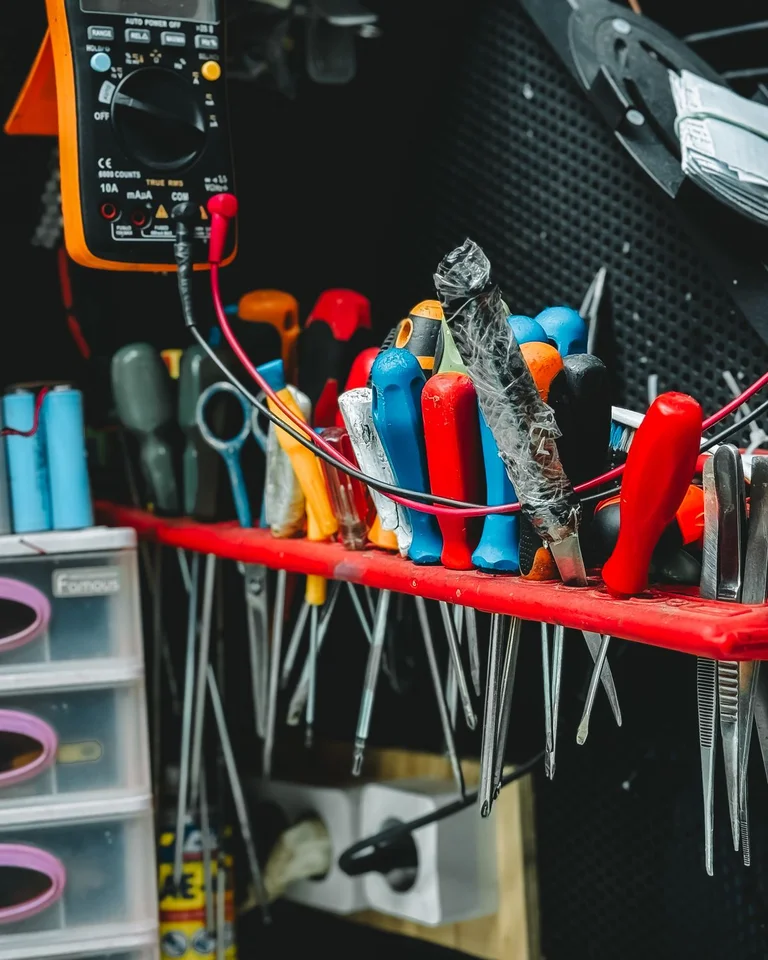
A permanent workbench eats floor space every day but only earns it on project days. A wall-mounted bench that folds flat when you’re done gives you a real work surface for repairs and potting plants, then disappears so you can park. Add a pegboard or a few small bins on the wall above it, and the whole station takes up zero floor.
Use hardware rated for the weight you’ll actually put on it, and follow the mounting instructions for your wall type. Tip: keep the bench folded whenever you’re not using it — an empty folded bench is a reminder not to let clutter colonize it.
12. Put a Spare Cabinet or Dresser to Work
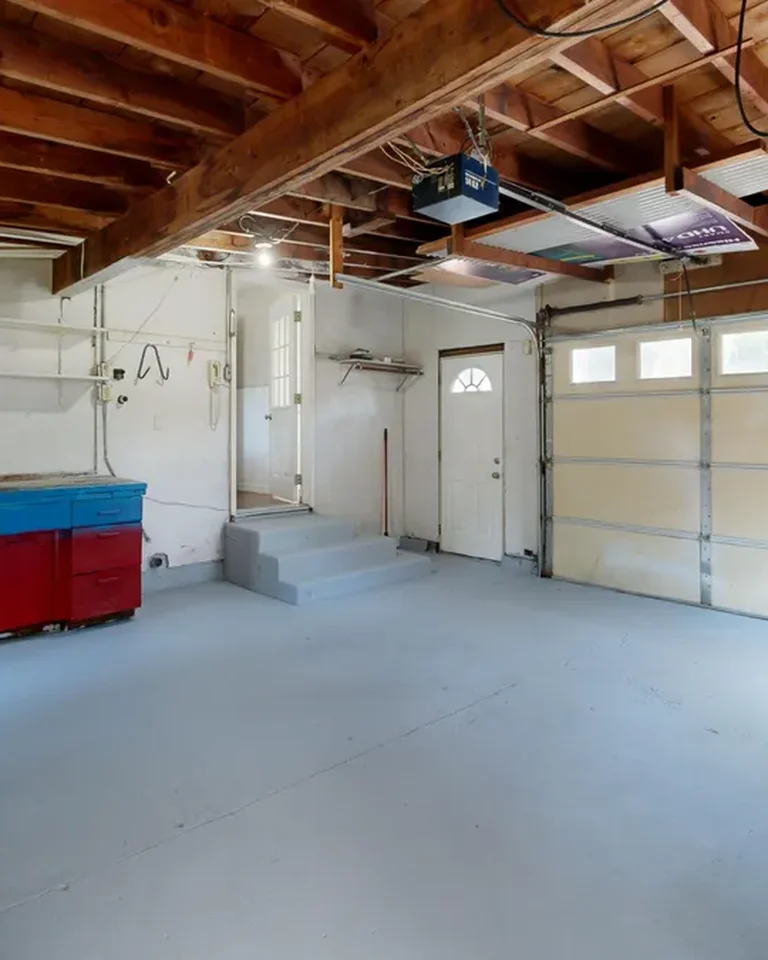
Before buying garage cabinets, look around the house: an old dresser, bookshelf, or kitchen cabinet headed for donation makes excellent garage storage. Drawers are perfect for car-care products, extension cords, and small tools, and a coat of paint makes a thrifted piece look intentional.
Reserve deep drawers for heavy items low down so the piece stays stable, and keep it a few inches off the concrete floor if your garage ever gets damp. Tip: label each drawer — furniture hides its contents, so labels do the work that open shelves do for free.
13. Corral Sports Gear in One Zone
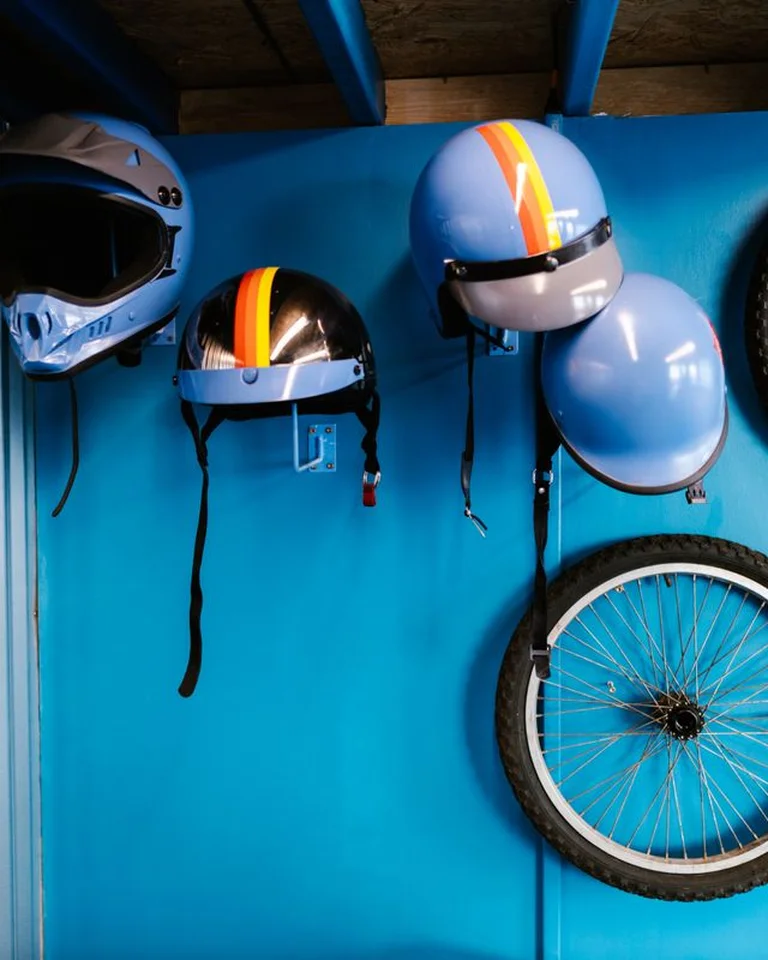
Sports equipment spreads fast. Dedicate one wall or corner to all of it: hooks for helmets and bags, a tall bin or mesh bag for balls, and a low shelf the kids can actually reach. When everything sports-related lives in one zone, the rest of the garage stays clean by default.
Keep the kids’ gear at their height so they can put it away themselves — that’s the system that actually sticks. Tip: a bungee-cord grid across an open frame makes a dirt-cheap ball corral that keeps round things from rolling away.
14. Tape Off Parking and Storage Zones
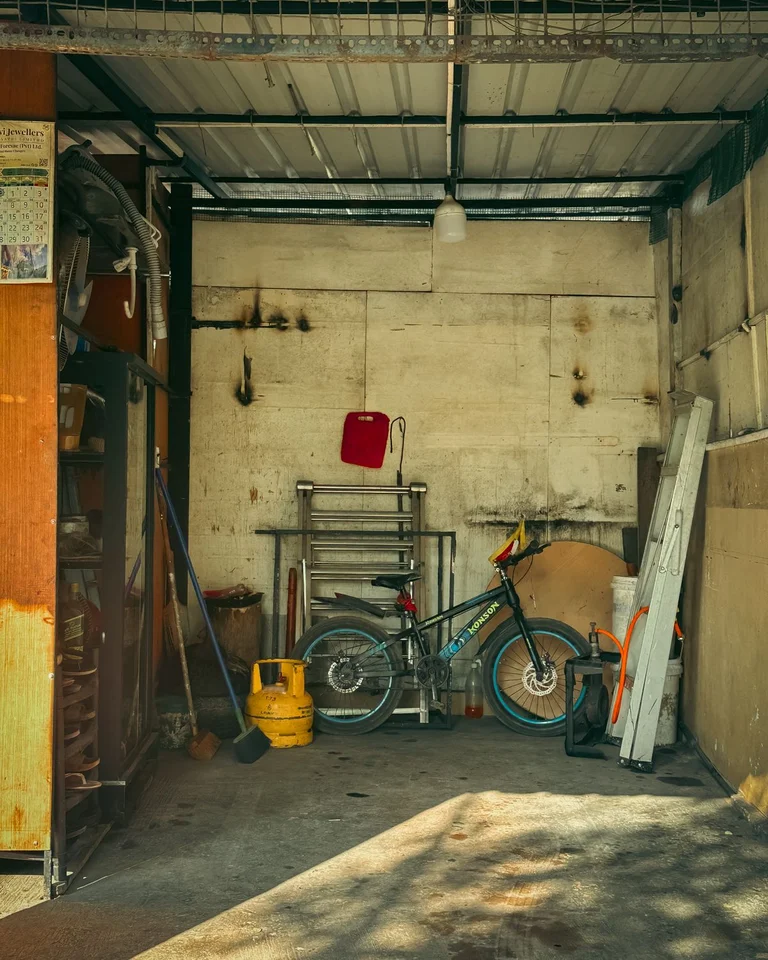
Garages drift into chaos because nobody knows where the car ends and the storage begins. Lay down painter’s tape or floor paint to mark clear zones: one rectangle for the car, a strip along the wall for bikes, and squares for bins and tools. The lines make it obvious when something is in the wrong place.
Keep walkways and the area in front of the car doors clear in your layout — sharp tools and large items never belong in high-traffic paths. Tip: re-tape the zones once a year; needs change, and the tape is cheap.
15. Make PVC Holsters for Long-Handled Tools

Short lengths of wide PVC pipe, screwed to a board on the wall, become custom holsters for brooms, mops, rakes, and shovels. Each handle drops into its own tube and stands upright — no more leaning the whole collection in a corner and watching it domino across the floor.
Use 2-inch or wider pipe so handles slide in and out freely, and mount the board solidly since a row of tools gets heavy. Tip: cut the pipe ends at a slight angle so handles guide in easily.
16. Use the Ceiling for Seasonal Totes
The ceiling is the biggest unused storage surface in most garages. A simple rack mounted between the joists holds holiday decorations, camping gear, and luggage you only touch a few times a year — freeing wall and floor space for everyday items. You can build one from lumber or buy a kit; either way it effectively adds a second story of storage.
Anchor everything into joists (never just drywall), keep heavy items on lower shelves, and leave enough clearance to load and unload safely. Tip: check that the rack clears the garage door’s full travel before you load a single tote.
17. Hang Cords and Hoses on Dedicated Hooks
Extension cords and garden hoses turn into trip hazards the moment they hit the floor. Coil each one loosely and hang it on its own large hook or a wall-mounted reel, grouped by length. You’ll untangle nothing, and you’ll actually be able to find the 50-footer when you need it.
Don’t kink cords into tight loops — loose coils protect the insulation — and inspect older cords for cracked jackets before hanging them back up. Tip: label each hook with the cord’s length so the right one comes down the first time.
18. Keep Fuel and Paint Away From Heat

Organization should never make the garage less safe. Store gasoline, propane, paint, and solvents away from the furnace, water heater, and any open flame — ideally in a shed or a cool corner far from ignition sources. The U.S. Fire Administration recommends keeping fuels and similar products out of the attached garage’s hot zones entirely.
Keep chemicals in their original labeled containers, never pour them into food jars, and store them where kids and pets can’t reach. Tip: give hazardous items their own clearly marked shelf so they never mingle with everyday supplies.
Frequently Asked Questions
What is the cheapest way to organize a garage?
Declutter first — removing what you don’t need costs nothing and creates the most space. After that, pegboard, wall hooks, and labeled bins you already own give the biggest improvement per dollar.
How do I organize a garage with no money?
Sort everything into keep/donate/trash piles, reuse crates, jars, and old furniture you already have, and use masking tape for labels and floor zones. Vertical wall storage made from scrap wood costs nothing but time.
Where should I start when my garage is overwhelming?
Pick one wall or one category (like tools or sports gear) and finish it completely before moving on. Small finished wins beat a half-reorganized whole garage, and each finished zone shows you what the system should look like.
Start with idea one this weekend — sort first, buy later — and add the wall storage that fits your biggest clutter category. A garage that holds the car and everything else is absolutely achievable on a small budget; it just takes one wall at a time.